Email campaigns are a great way to communicate with your prospects and customers. It is a popular and cost effective method of direct marketing, which allows you to convey your message and your brand. For this reason, we recommend utilising email campaigns for the following purposes;
- Newsletters
- Upcoming Promotions
- Special Events
- Holidays
As it typically takes contacts 48 hours to open their emails, we recommend that any time sensitive email marketing is always sent at least 2 days before the actual date.
From the Campaigns area, click the plus symbol at the top right of your screen
Select the Email Channel to send through (You can also add additional channels such as SMS)
Enter a name for the Campaign Folder you'd like to save the campaign in.
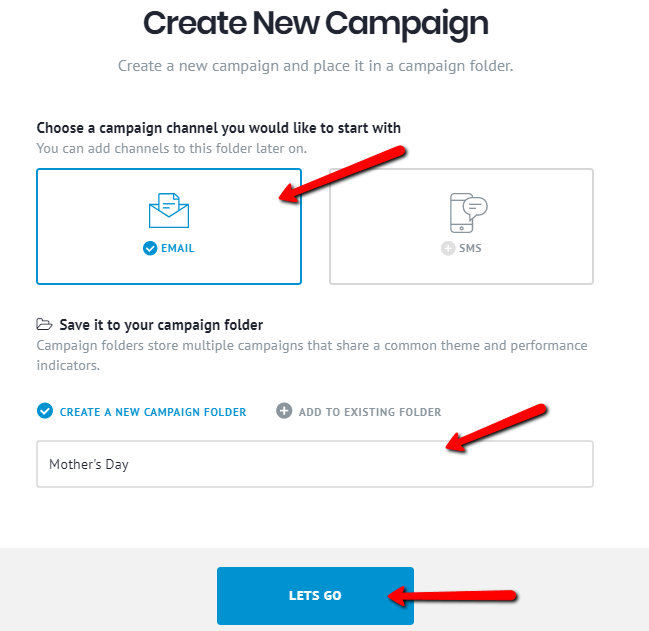
Campaign Folders allow you to organise multiple campaigns that are related. For example, for a Valentine's Day promotion, you may choose to send out multiple email and sms campaigns. To manage the campaigns and view aggregate reporting, you can choose to create a folder called "Valentine's Day" and insert all campaigns (including automations) into this folder. When viewing analytics, you can choose to view on an individual campaign or as an aggregate for a whole
After clicking on "Lets Go", you can begin setting up your email campaign. The first thing to specify is your subject line.
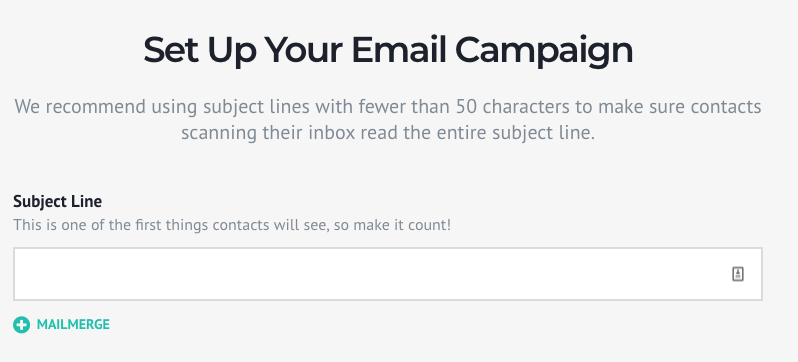
Clicking on "+ MAILMERGE" allows you to personalise your subject line by inserting contact field values such the recipients First Name.
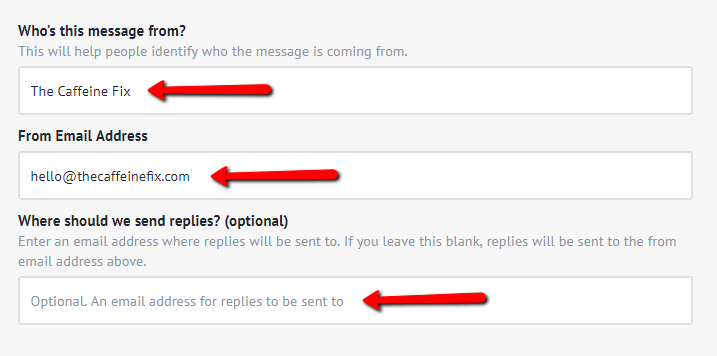
Enter the name the email is coming from
Enter the From Email Address
Enter the Email address that replies should be directed to (If different than the from email).
Click Next
From this screen you have s few options, you can Start Fresh, access a recent and/or draft email
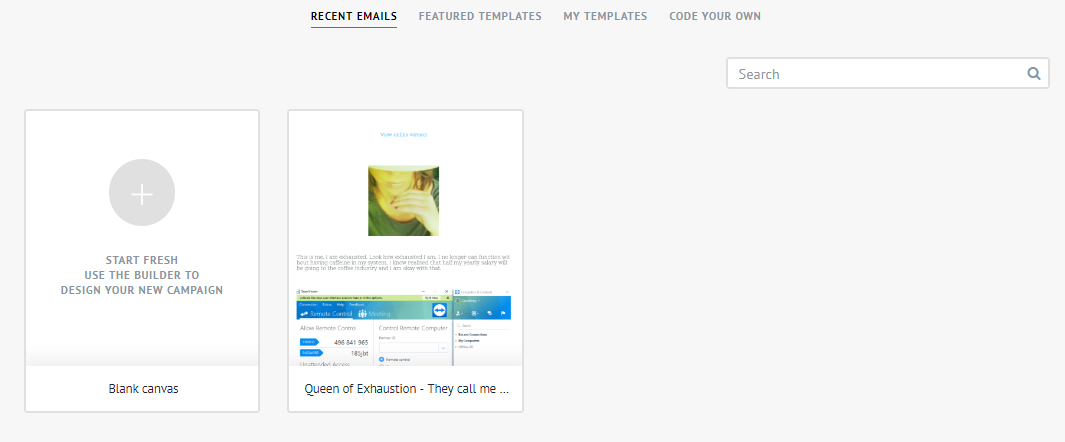
Additionally, you can Use a Featured Template, Load a template you’ve previously created (My Templates) or Code Your Own email (these options available via the headings at the top of the screen)
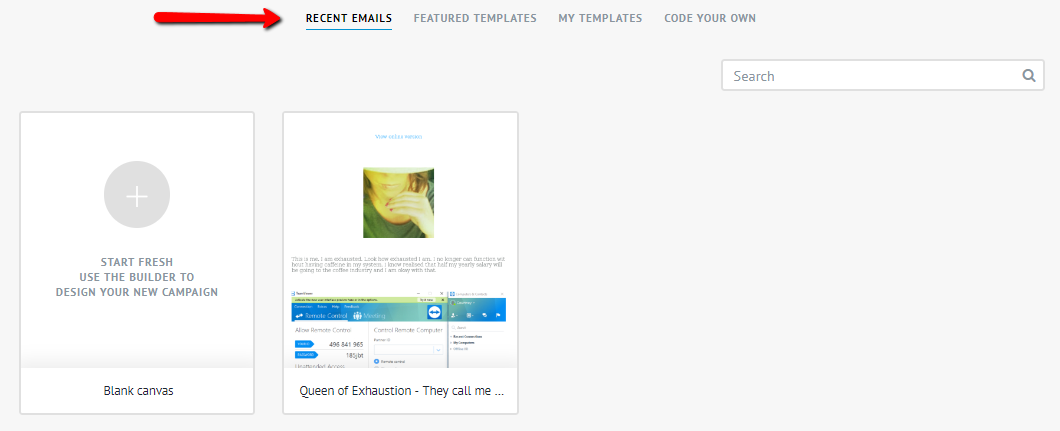
Select relevant option to open email editor
Once email has been created (click here for instructions on the email editor) click next to continue

From this next screen select your recipients by selecting a segment, using a search or manually selecting contacts
Click Next
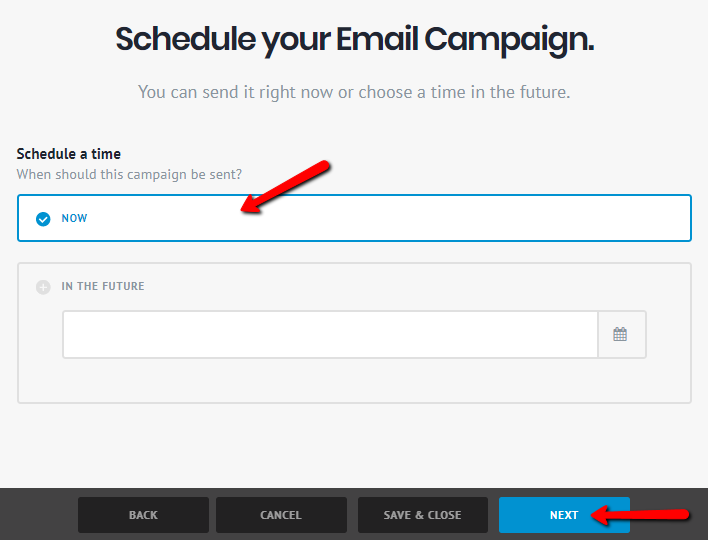
Select when you would like the campaign to be sent
Click Next
Review all campaign details
Click Send or Schedule Button